Thursday, December 31, 2009

Yule Log with Kahlua Cream and Chocolate Ganache

Every year I can never think of what to get my boyfriend's father for Christmas and so every year I end up making something to delight the sweet tooth. This year my boyfriend mentioned that his father enjoys those hostess snack cakes, Ho Hos, so I decided to try my hand at making a Yule Log. I had seen pictures and while I had never anything rolled before I thought he might enjoy it.

Fortunately, my darling friend Tabitha and her husband Adam bought me The Golden Book of Chocolate as an early Christmas present and I was able to find a recipe.

Ingredients:
  • 1/2 cup all-purpose flour
  • 1/3 cup + 2 tablespoons unsweetened cocoa powder
  • 1/2 teaspoon baking powder
  • 5 large eggs, separated
  • 3/4 cup granulate sugar
  • 2 tablespoons melted butter
  • 1 Teaspoon vanilla extract
  • 1/2 teaspoon
  • Splash of cold coffee (optional)
  1. Preheat the oven to 400 degrees.
  2. Butter and Flour a jelly roll pan (17 x 12 1/2 inch) and line it with parchment paper. Silly me I had always used these pans as cookie sheets--still do--but I had never known that they were actually considered Jelly Roll pans. For a moment there I thought I was going to need to purchase a brand new pan! Not that that would have really upset me ;)
  3. Mix the flour, the baking flour and the 1/3 cup of cocoa powder in a large bowl.
  4. In a separate bowl beat the eggs yolks, 1/4 cup of sugar and the melted butter at a high speed until pale and thick. -As a side note, if you are not confident in your egg separating skills I suggest watching Episode 94 of Three's Company Jack shows the girls how to separate eggs and the lesson actually helped me get more confident in it too.
  5. Add the vanilla extract and if you choose to add a splash of cold coffee you should do it now. The recipe in the cook book did not call for it but I find most of the time I make anything with chocolate I end up adding a splash of coffee. Ina Garten does this often and I have found that it really does bring out the taste of the chocolate instead of over powering it.
  6. Use a rubber spatula to fold in the dry ingredients.
  7. In yet another bowl, beat the egg whites and salt in at a medium speed until frothy. With the mixer at a high speed, gradually add the remaining cup of sugar (1/2 cup) until stiff peaks form. Fold this into the batter.
  8. Spoon this into the prepared pan and bake for 10-12 minutes.
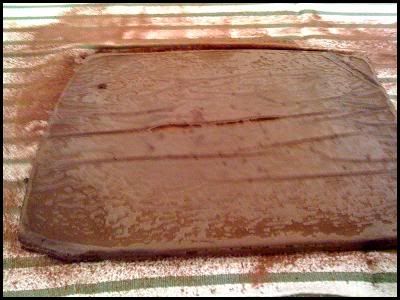
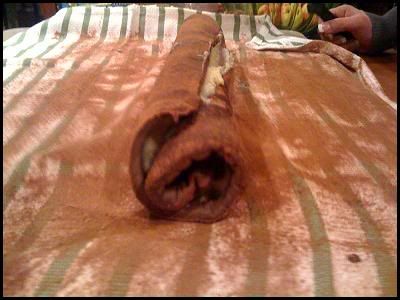
Next is the fun part. When the cake comes out you'll want to flip it over onto a kitchen towel that has been dusted with the remaining amount of cocoa powder (2 tablespoons should be enough but don't be afraid to use more). My mother and I had such an adventure with this because you need to flip the cake onto the towel once it comes out of the oven. After a few moments of us hopelessly trying to figure out how to flip it struck me that the most obvious way is the best way. Finally, I simply yelled out "No fear!" grabbing the edges of the parchment paper I pulled and flipped the cake onto the towel. We had a good laugh because my mother was on the side of the cake and was now covered in cocoa powder.


Using the cloth roll the cake up and let it cool this way.
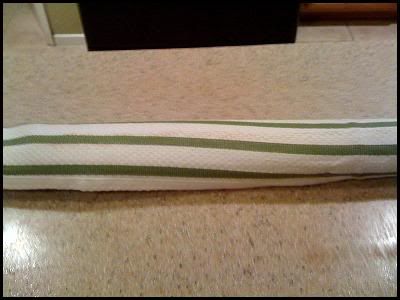

This will give you time to make the cream.
Ingredients:
  • 5 Large eggs yolks
  • 2/3 cup granulated sugar
  • 2 tablespoons Kahlua (or your favorite coffee liqueur)
  • 2 cups milk
  • 1/4 teaspoon salt
  • 1/2 teaspoon vanilla extract
  1. Beat the yolks, sugar, and liqueur until pale and thick.
  2. Bring the milk to a boil.
  3. Place the flour and salt in a bowl.
  4. Pour a bit of the boiling milk and stir until smooth. Once smooth pour the remaining milk.
  5. Pour the milk, flour and salt mixture into the yolks and sugar. -You must must must do this part slowly and be sure to stir while doing this. You want to bring the temperature of the eggs up slowly or else you'll end up with scrambled eggs and those do not go well with chocolate cake.
  6. Simmer over low heat, stirring constantly until it gets thick.
  7. Let it cool.
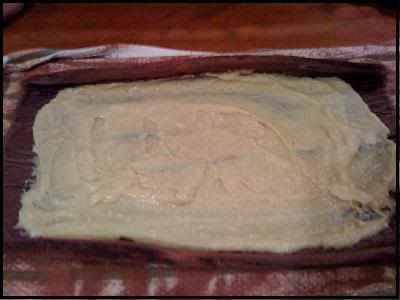
Once your cream is cool you'll want to unroll your cake and spread the cream onto the cake.

Then reroll the cake!

I sliced off the edges for neatness sake:
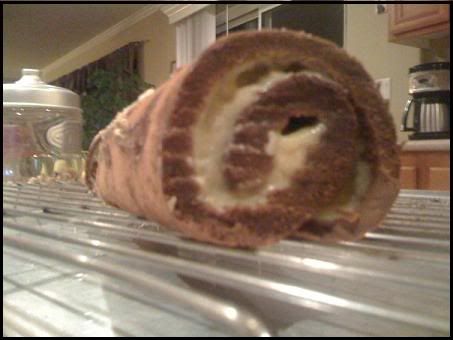
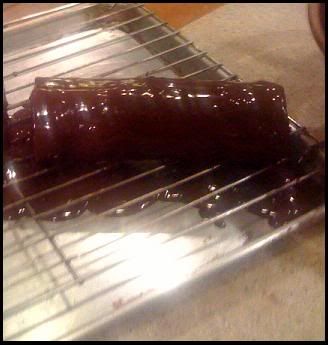
Then to give the cake that snack cake look I decided to cover it in chocolate Ganache.

Ingredients:
  • 12 oz semi-sweet chocolate, grated chopped or morsels will work.
  • 1 1/4 cups heavy cream
Simply bring the cream to a boil and pour the hot cream into the chocolate and stir until the chocolate has completely melted and the mixture is shiney. Let cool and then pour over the cake.

Wednesday, December 30, 2009

Twilight Cake

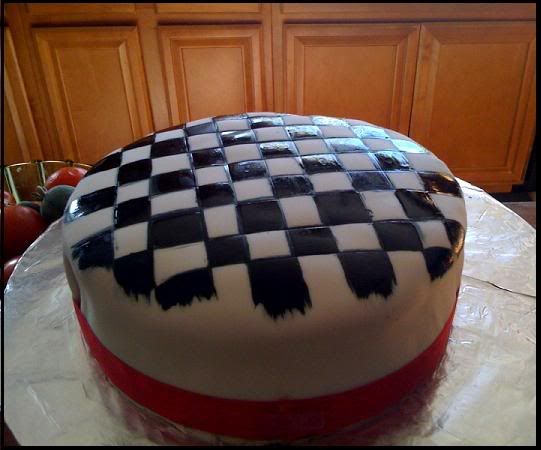
So a friend needed to make a Twilight cake. I don't like Twilight but I thought that making a cake for something that I don't like or particularly know would be a nice challenge. It was also the first time I did food coloring paint on fondant which was fun and smell delicious.


Photobucket

First we covered it in Fondant and I realized that when I open a bakery I need to hire Adam Wiebe because he uses his strong arms to roll out the fondant quickly for me--especially when my wrists are sore from crocheting (what? I'm an old woman.)

Photobucket

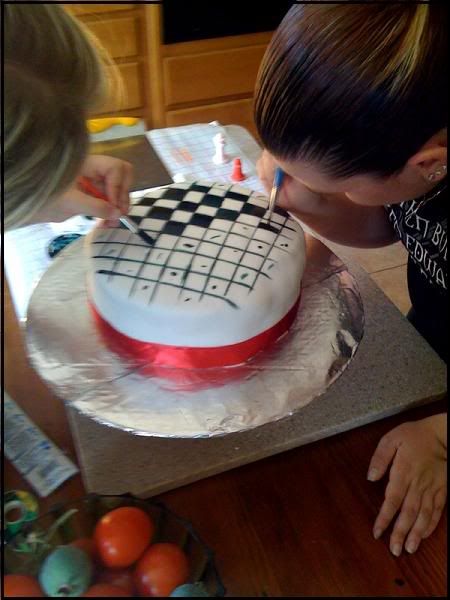
Here's the cool part. I had never painted on fondant or made my own edible paints before. I used Almond extract instead of lemon and the scent was divine, but as with Vanilla extract the scent is deceiving, at least when it was by itself when it was on the cake it was fine.

Photobucket

Since it was a round cake we decided that painting a straight chess board would look a little weird so we chose to fade the brush strokes.

Photobucket

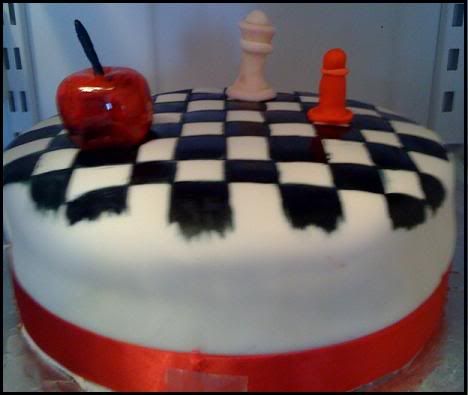
The finish thing, I love the little apple. Originally it was just red fondant but a black spoltch of food coloring on it so I decided to take red food coloring to it and really ended up loving the result.

Photobucket

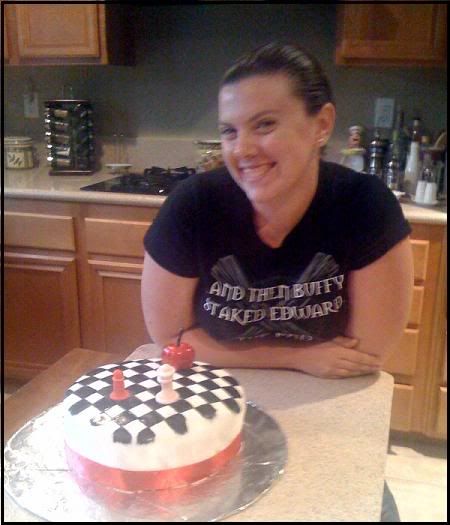
Tabitha showing off her...um twilight shirt with our twilight cake.

Tuesday, December 29, 2009

Root Beer Cookies

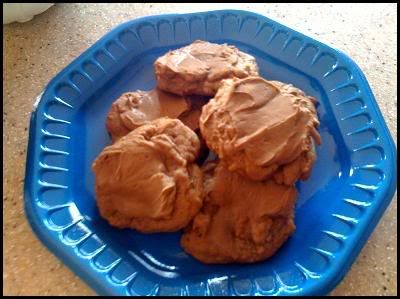
In Mike Judge's 2009 film Extract Jason Bateman reminisces about his family making root beer cookies. I had never heard of such a thing before this movie but my boyfriend, who I saw the movie with, is a root beer fiend and began nudging me during the movie as soon as the cookies were mentioned. So I went to the trustworthy internet and found a recipe. Tweaked it and they came out delicious.
Ingredients:
  • 1/2 cup unsalted butter

  • 1 cup dark brown sugar

  • 1 egg

  • 2 teaspoons root beer extract (or a little more if you really want that rootbeer taste!)

  • 1 3/4 cups flour

  • 1/2 teaspoon baking soda

  • 1/2 teaspoon salt
Got your ingredients? Fantastic!
  1. Cream the butter and dark brown sugar until it is light and fluffy.

  2. Add the egg and beat well, once it is combined add the root beer extract.

  3. In a separate bowl, whisk together the flour, baking soda, and salt. Then slowly add it to the butter mixture (and pray that your ancient mixer doesn't give out on you)

  4. You'll be left with something resembling this:


Take a Taste! :D I love stealing just a bit of cookie dough and it's at this point that the dough really taste like Root beer. Once the dough is ready you'll want to cover it up and stick in the fridge for about an hour or so. Once that's done preheat the oven to 350 degrees and bake for about 6-8 minutes. Once they're done let them cool for about 20 minutes before putting on the Root Beer frosting.

Don't have root beer frosting? Make some!
Root Beer Frosting

Ingredients:
  • 1/2 cup of butter

  • 1 1/2 cups of powdered sugar

  • 1 tsp root beer extract

  • Few tablespoons of water (optional, I didn't really need it)
  1. Beat the butter on high until it's nice and fluffy.

  2. Add a little of the powdered sugar and the extract.

  3. Continue adding the powdered sugar and beat until smooth.
The water is only needed if you want a different consistency for your frosting. Make sure you keep the frosted cookies in the fridge as the frosting has a tendency to sweat.

Monday, December 28, 2009

An Introduction

I've always had a love for baking. When other little girls were using easy bake ovens I was using my mother's oven to create, and for as long as I can remember I've wanted to bake. Baking, in essence, is art and science all rolled into one and there is nothing in this world that makes me happier than watching people eat something I've baked for them. The look of pure happiness my best friend gets when I bring her brownies, or when someone closes their eyes as they savor that first bite of something I've made; to me, that is heaven.

So I suppose this is a baking adventure and a way to postabout all the fattening delights that me and my team create.

The Team:
The Baker: Just your typical 22 year old. I'm currently in Business School and with any luck will be graduating in May of 2010. A few years ago I made a deal with my mother, if I got a degree in business she would pay for culinary school. So here I am, ready to graduate and currently in the process of applying for the pastry program at the San Diego Culinary Institute.


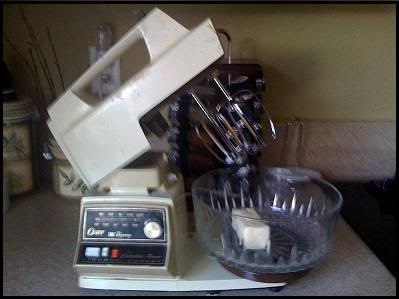
Os: Is a grumpy old man that works really hard and has been my mixer for as long as I can remember. In fact, Os is so old that the company that made him no longer makes stand mixers. It's a little crazy to think about, I'm sure there will be a day when I let him retire but the truth is I trust that my baked goods will come out perfectly if I use him.


Alton: My second mixer, he fills in for Os when I have to recipes that I know Os cannot handle. A beautiful KitchenAid Professional 600 series in Licorice. According to the KitchenAid website Alton can make 13 dozen cookies in one bowl, something we might have to test at some point.

So lets bake and enjoy life together. Sure you might gain some weight but a Mame Dennis from Auntie Mame says, "You have to live, live, live! Life is a banquet and most poor suckers are starving."
 
Blog Template by Delicious Design Studio